#2 Deploy your Phoenix application with Clever Cloud
Second article of a series about Phoenix and Elixir. This one will be focused on automatic deployment with Clever Cloud.


Discover the Phoenix Series
#1・Handle HTML & API authentication
#2・Automatic deployment
#3・Pimp my Phoenix
#4・Discord Bot & Stackable Queries
Automatic deployment
Now that we have our project working, it is time to deploy, don't you think ? So, we want our project to be online, but we also want the deployment to be simple and automatic when we push some code to our repository on Github. Some security (https) would be nice too!
Today we will try Clever Cloud! At Kalvad, we use their services a lot and a big part of our production applications are hosted on their servers.
First thing first, you need to create your account. Once you verified your email & logged in, you should be ready to create your first application :
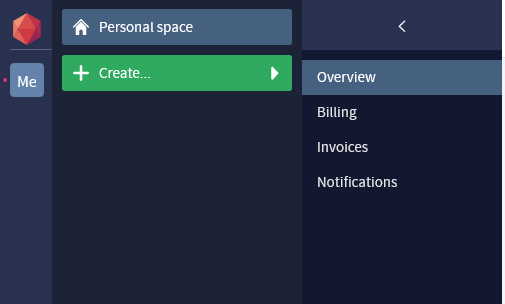
Personal space doesn't fit your needsLet's say all your code is on a Github's repository as I did for TastyRecipes.
Application setup
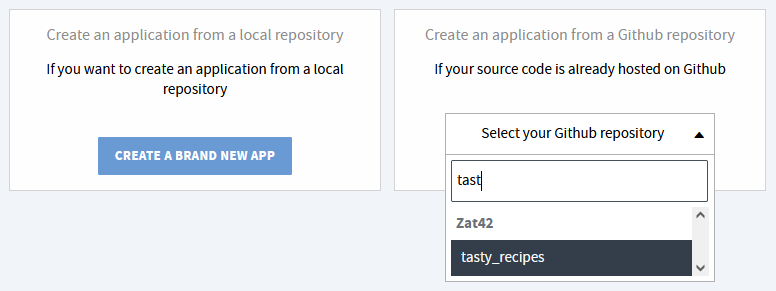
When creating an application, you will be asked if you want to do it from a local repository or from Github. For the sake of keeping this step simple, we will just say that we want to use Github. Select your project in the drop-down :
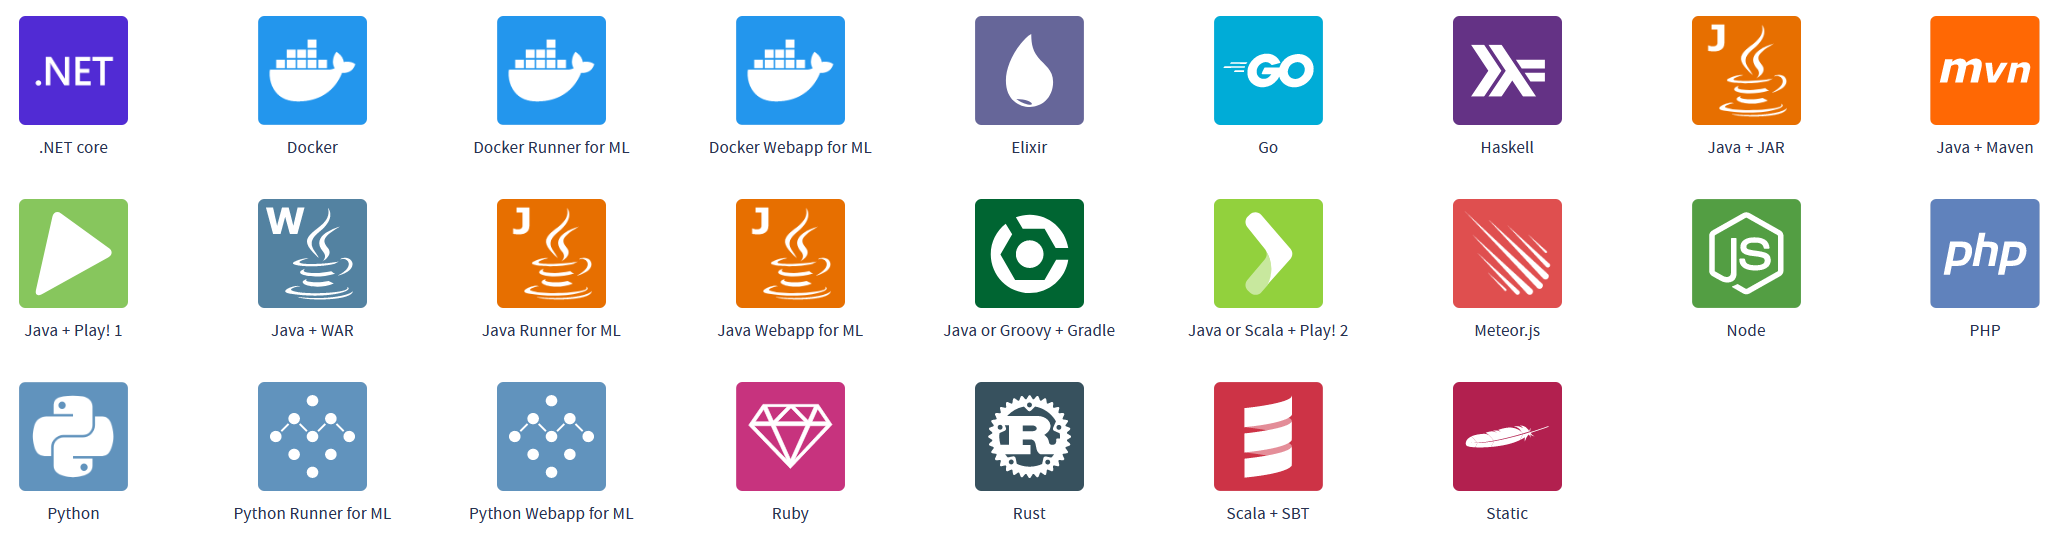
After picking your project, you should now see a list of supported platforms. Obviously our pick will be Elixir.
After this, you will need to setup the scaling of your application. Clever Cloud supports dynamic load balancing, meaning that it will automatically upgrade / downgrade the size of your instance based on traffic. You can learn more about this here.
Let's say that for our test we don't need such optimization and that we will keep it simple with a nice little nano instance without autoscalability.

Pick a name, a description, a zone and go to the next step.
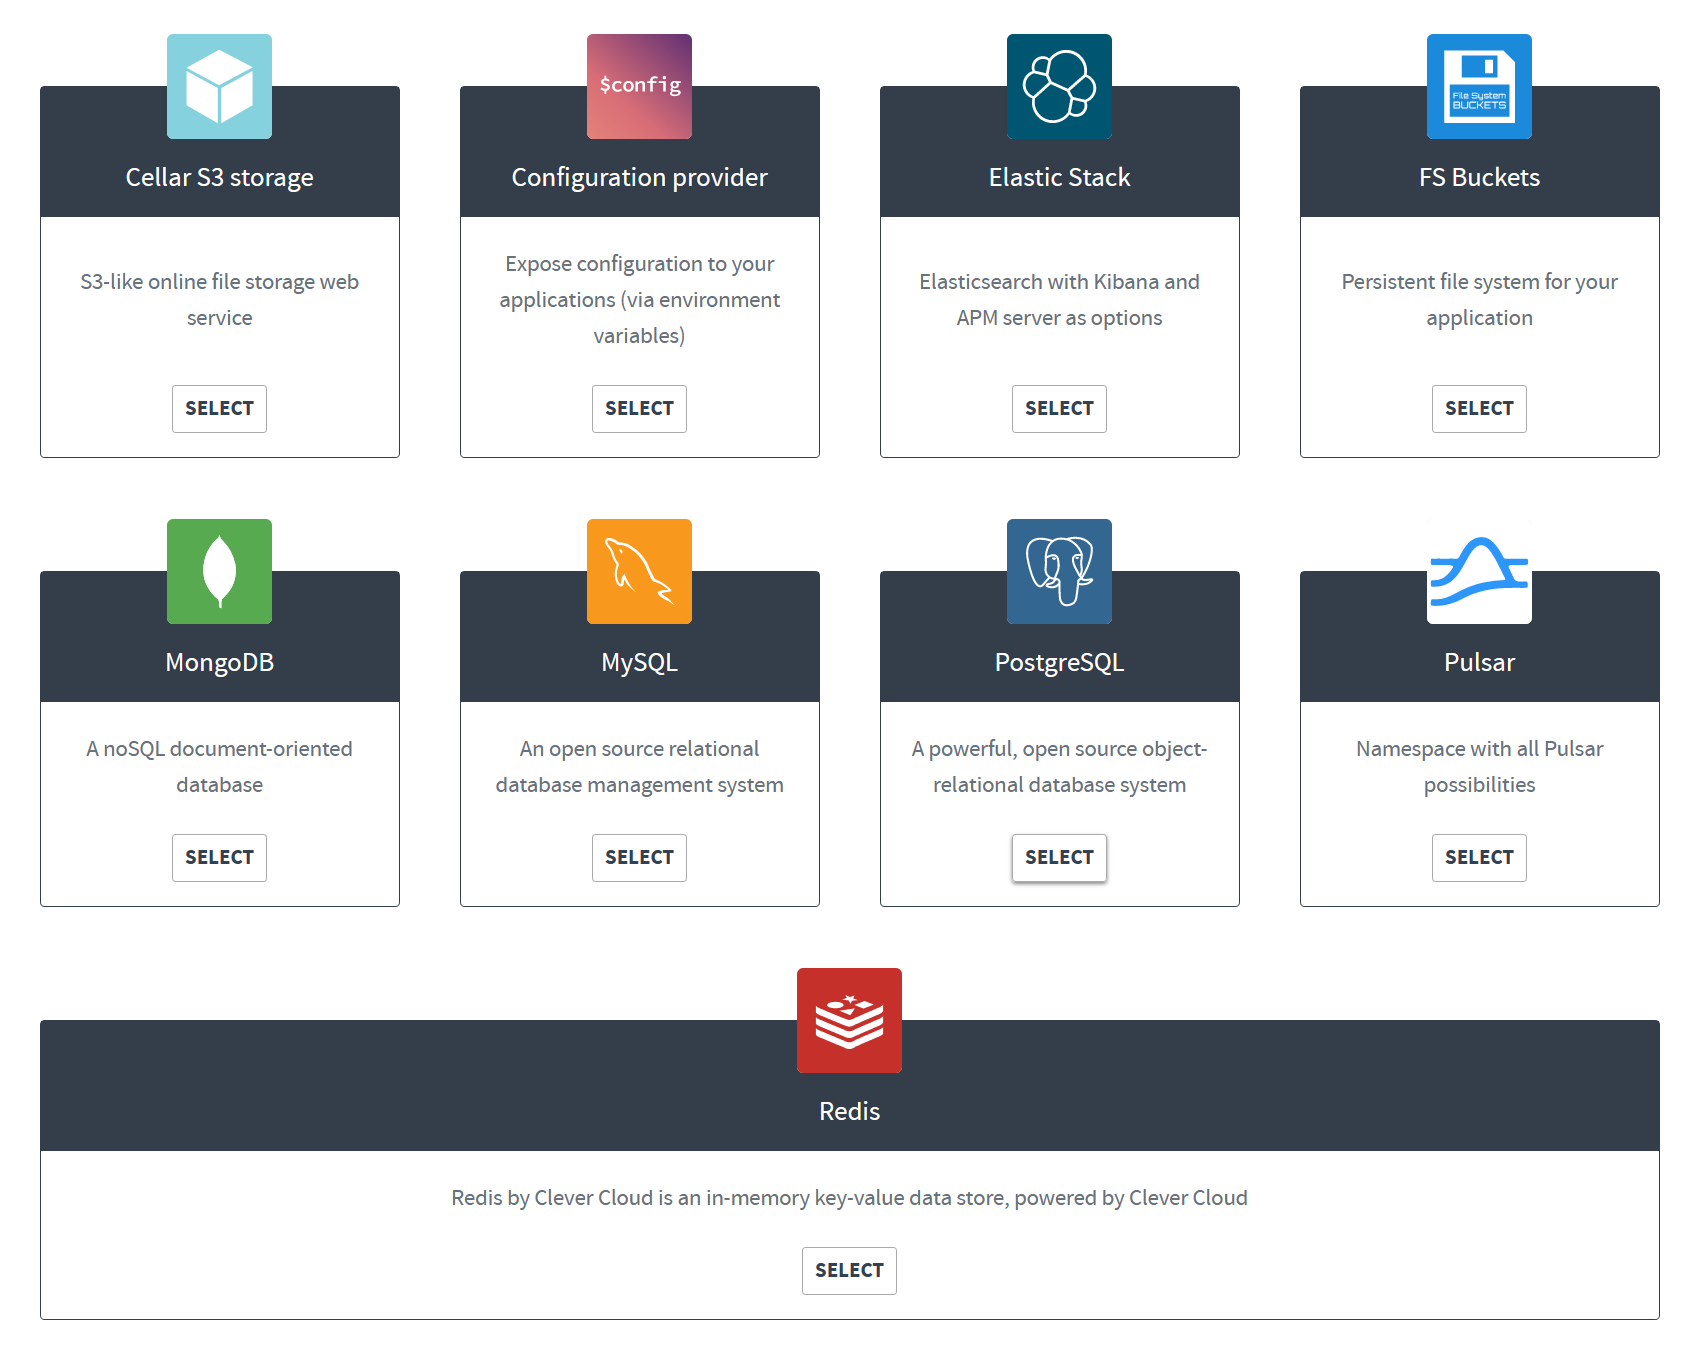
After this, we are asked if we want some add-ons for our application. Sure! We want (at least) a database for our data. Based on what we did on first part of our project, let's pick PostgreSQL.
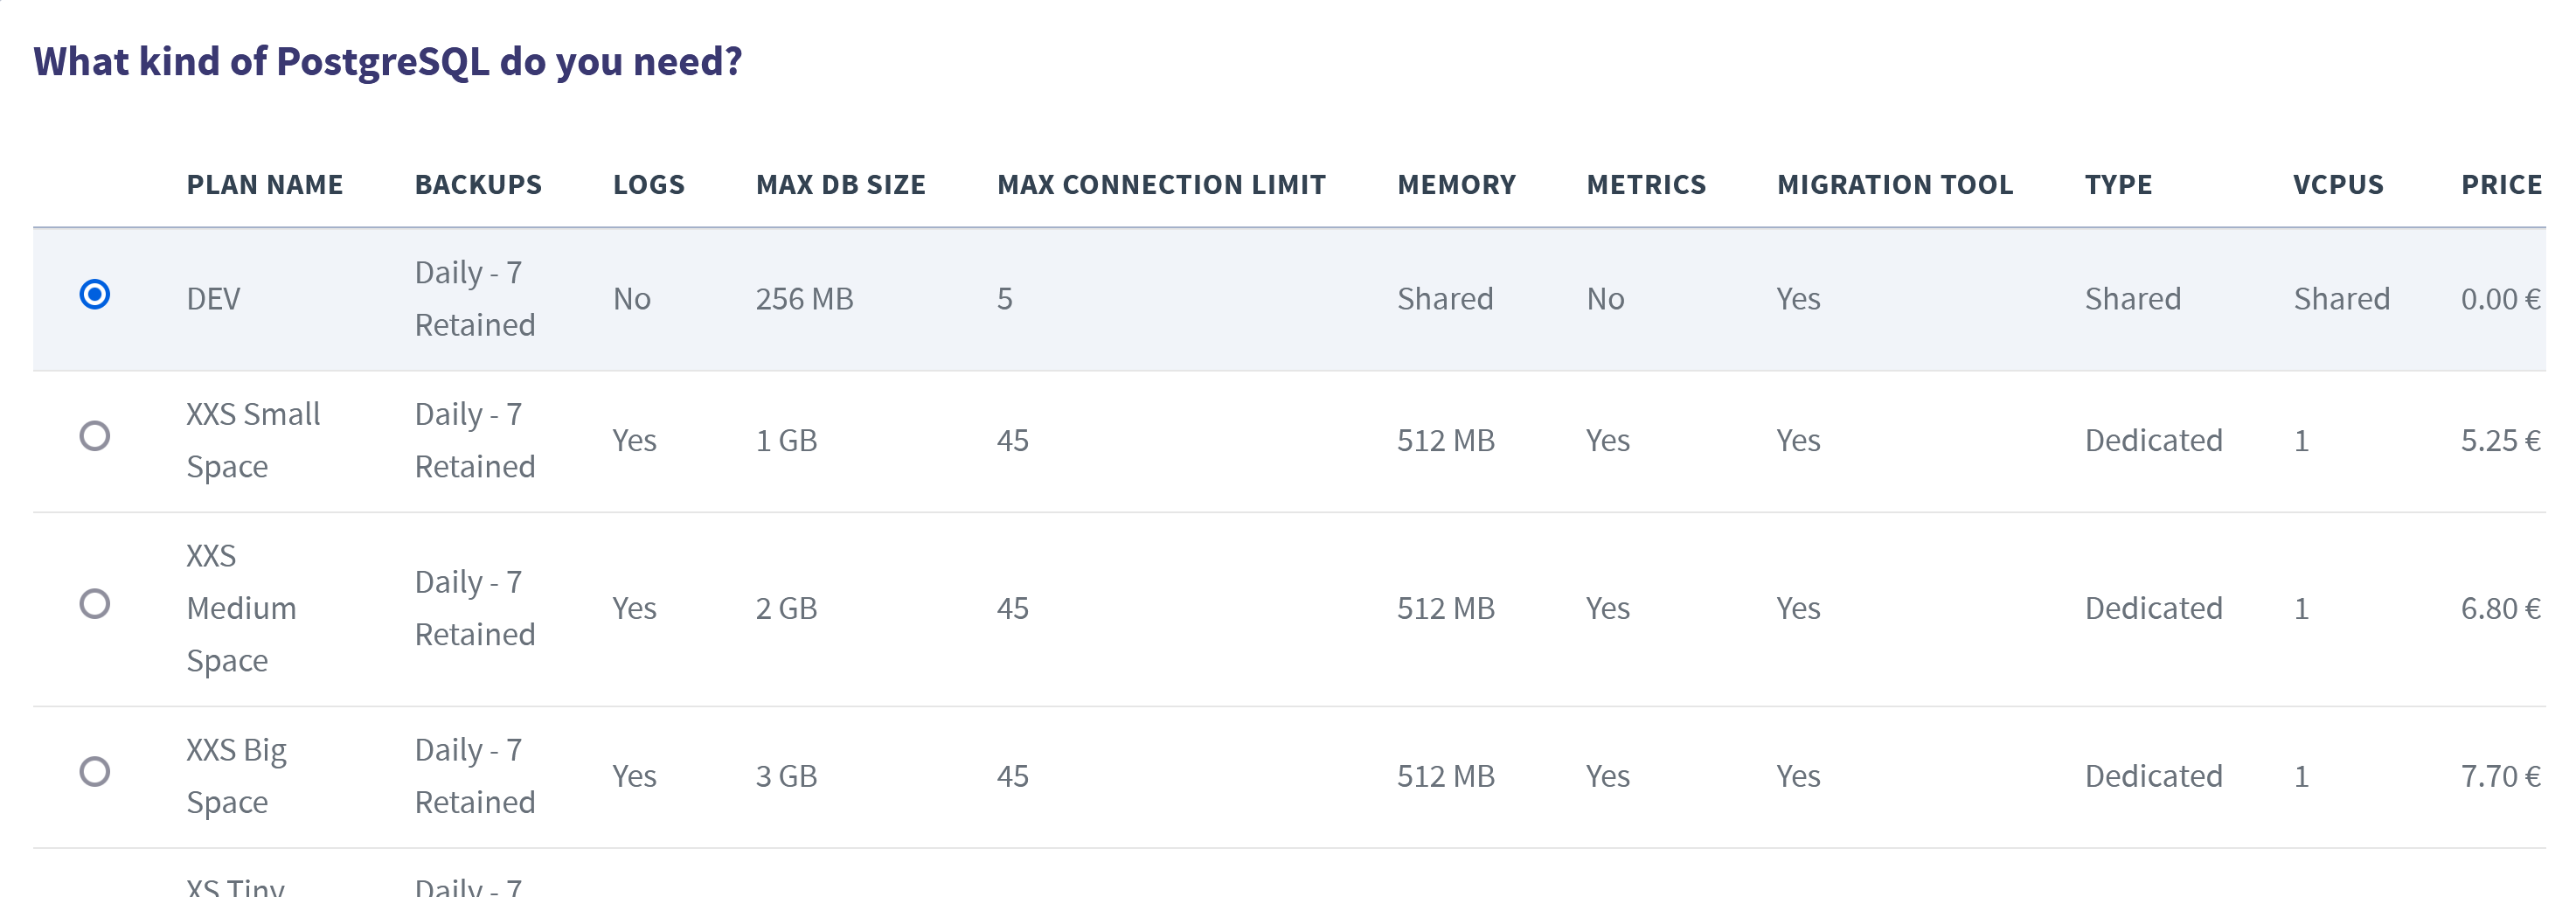
I will go for the Dev plan because it is free and it will easily handle the data we will use for our little project. Once again, feel free to adapt this choice to match your needs since Dev plan (as its name suggests) should only be used for staging purpose.
Let's name our database tasty_recipes_database and pick the same zone that we choose for our application (or at least a close one).
The next step is to setup environment variables, copy the following values :
CC_ELIXIR_VERSION="1.12"
CC_PHOENIX_ASSETS_DIR="assets"
CC_PHOENIX_RUN_ECTO_MIGRATE="true"
MIX_ENV="prod"
POOL_SIZE="2"
PORT="8080"
SECRET_KEY_BASE="vBvahKyEniuAP48vHu1GI9xy6Iwtjb/viHmrPbcpjuJA9eU34l6iG/gkCkk8Cwow"CC_ELIXIR_VERSIONis the version of Elixir that will be use to run your instance.CC_PHOENIX_ASSETS_DIRis the directory where will we put all of our Phoenix assets / static files (JS, CSS, images, ...). Note there is no trailing/CC_PHOENIX_RUN_ECTO_MIGRATEif set totrue, the server will to try to run migrations to update our database during each deployment.MIX_ENVshould be set toprodif this instance is used for production. With this configuration, the server will not use theconfig/dev.exsfile anymore, butconfig/prod.exsandconfig/prod.secret.exsinstead.POOL_SIZEare the number of connections to your database. It should not exceed the max connection limit of your database plan (5 forDevplan in our case). You can find this information on the Clever Cloud dashboard of your database application.PORTis the port on which your application run.SECRET_KEY_BASEis the secret of your application. For your safety, you should not use mine and generate a new one by callingmix phx.gen.secret.
You can also give a look at Clever Cloud documentation for this.
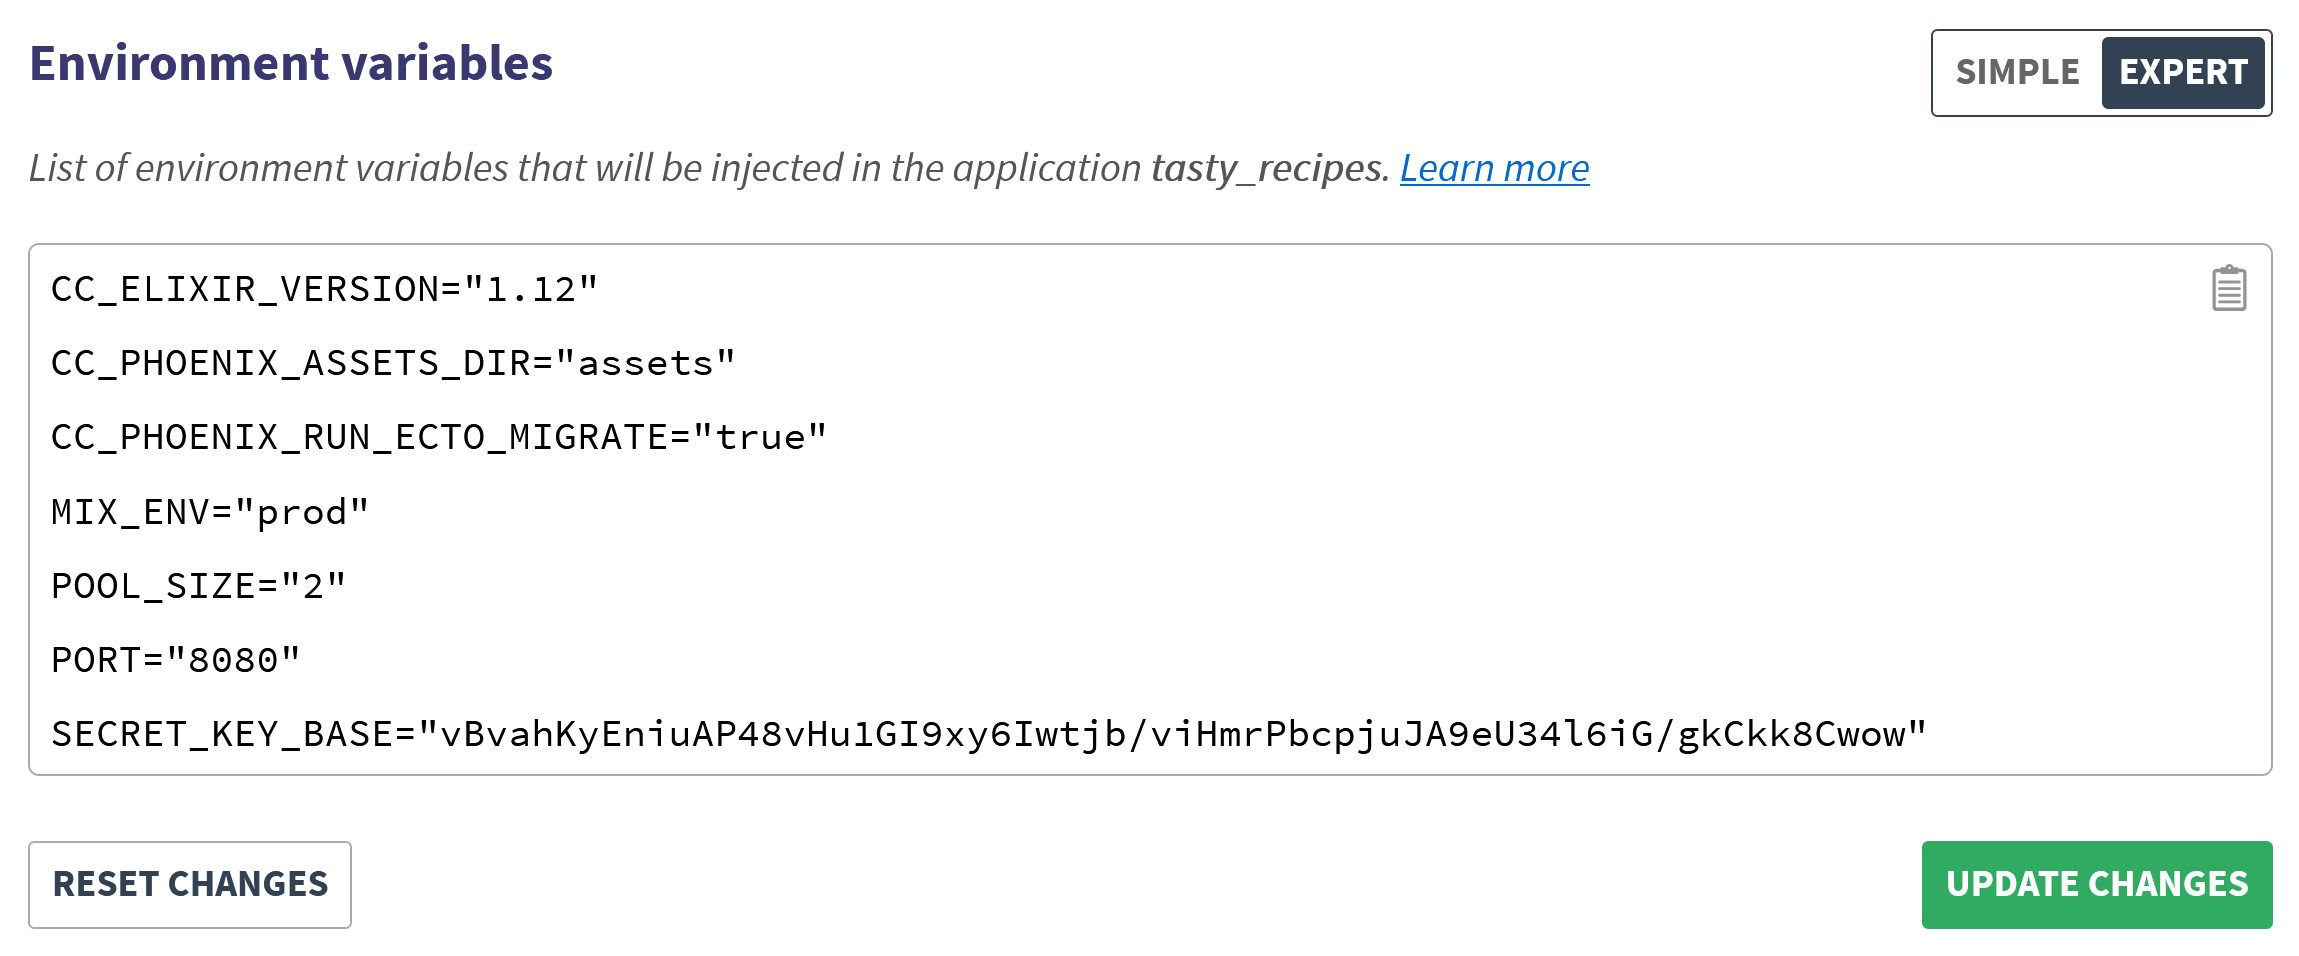
expert mode you can change values on the fly instead of doing it one by one.Save it and we are done for the instance creation.
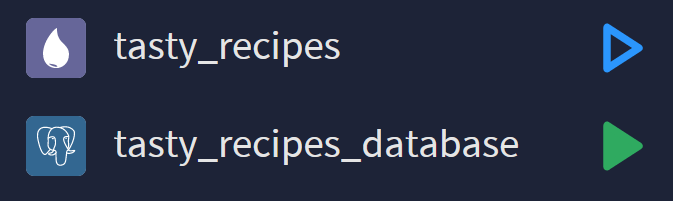
Sweet! We can see that our application and its database has been created successfully. The green arrow means that the instance is running, the blue means that a deployment is ongoing. You can also have a red arrow in case your deployment failed.

Speaking of red arrow... After a few seconds you should see that our deployment failed. How sad !

Let's polish our settings
Our application is not deployed but that's okay because we only forgot to set a few things in our code and ENV :
- Database settings
use Mix.Config

database_url =
  System.get_env("POSTGRESQL_ADDON_URI") ||
    raise """
    environment variable POSTGRESQL_ADDON_URI is missing.
    For example: ecto://USER:PASS@HOST/DATABASE
    """

...We have to change get_env("DATABASE_URL") to "get_env(POSTGRESQL_ADDON_URI"). Because, in case you didn't notice, all the configuration of your database add-on is already set on your main application env :
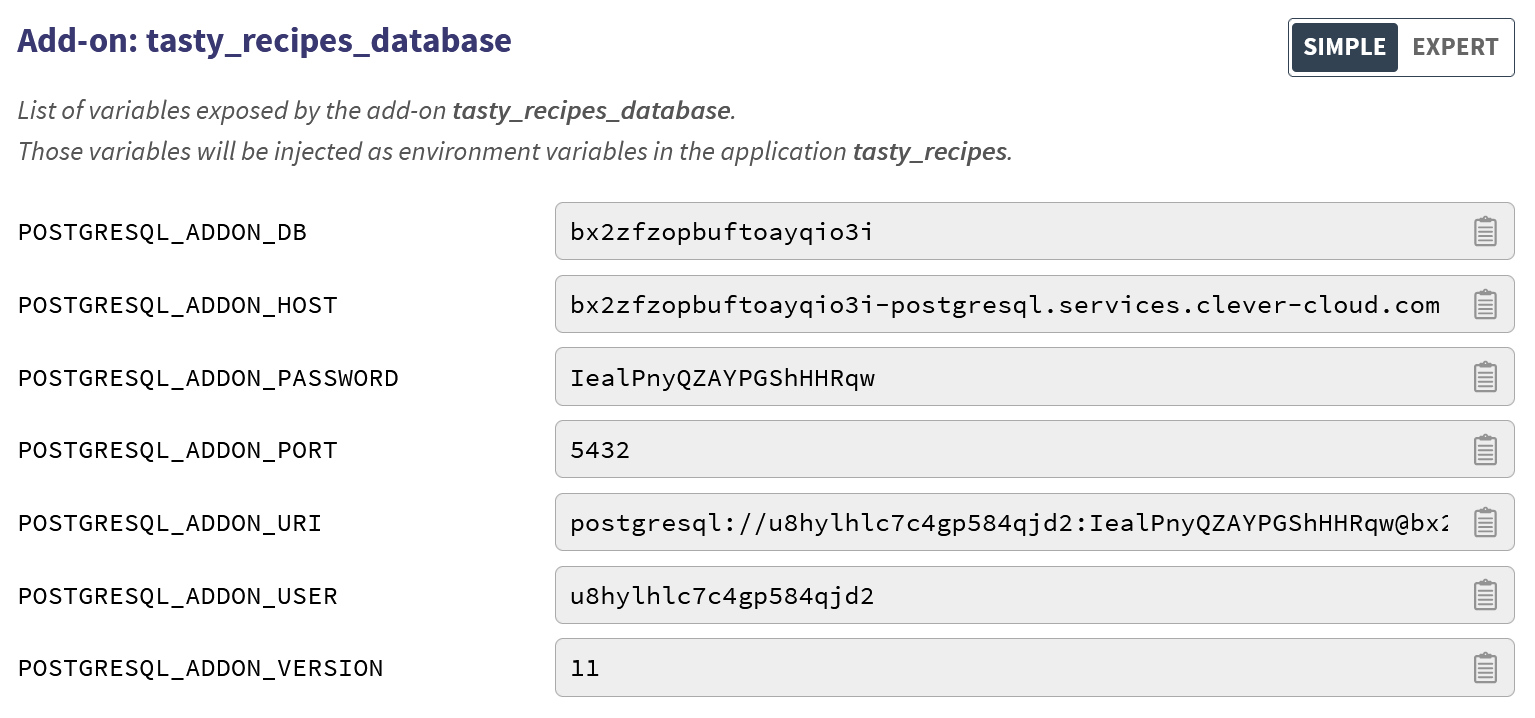
So we just need to tell our application to use POSTGRESQL_ADDON_URI as database's production settings.
- Endpoint settings
We also need to tell our application which domain name we gonna use :
use Mix.Config

config :tasty_recipes, TastyRecipesWeb.Endpoint,
  url: [
    host: System.get_env("HOST_URL", "example.com"),
    port: 443,
    scheme: "https"
  ],
  check_origin: false,
  cache_static_manifest: "priv/static/cache_manifest.json"

config :logger, level: :info

import_config "prod.secret.exs"With this configuration, we will now fetch the domain name from the HOST_URL environment variable instead of using the default example.com value.
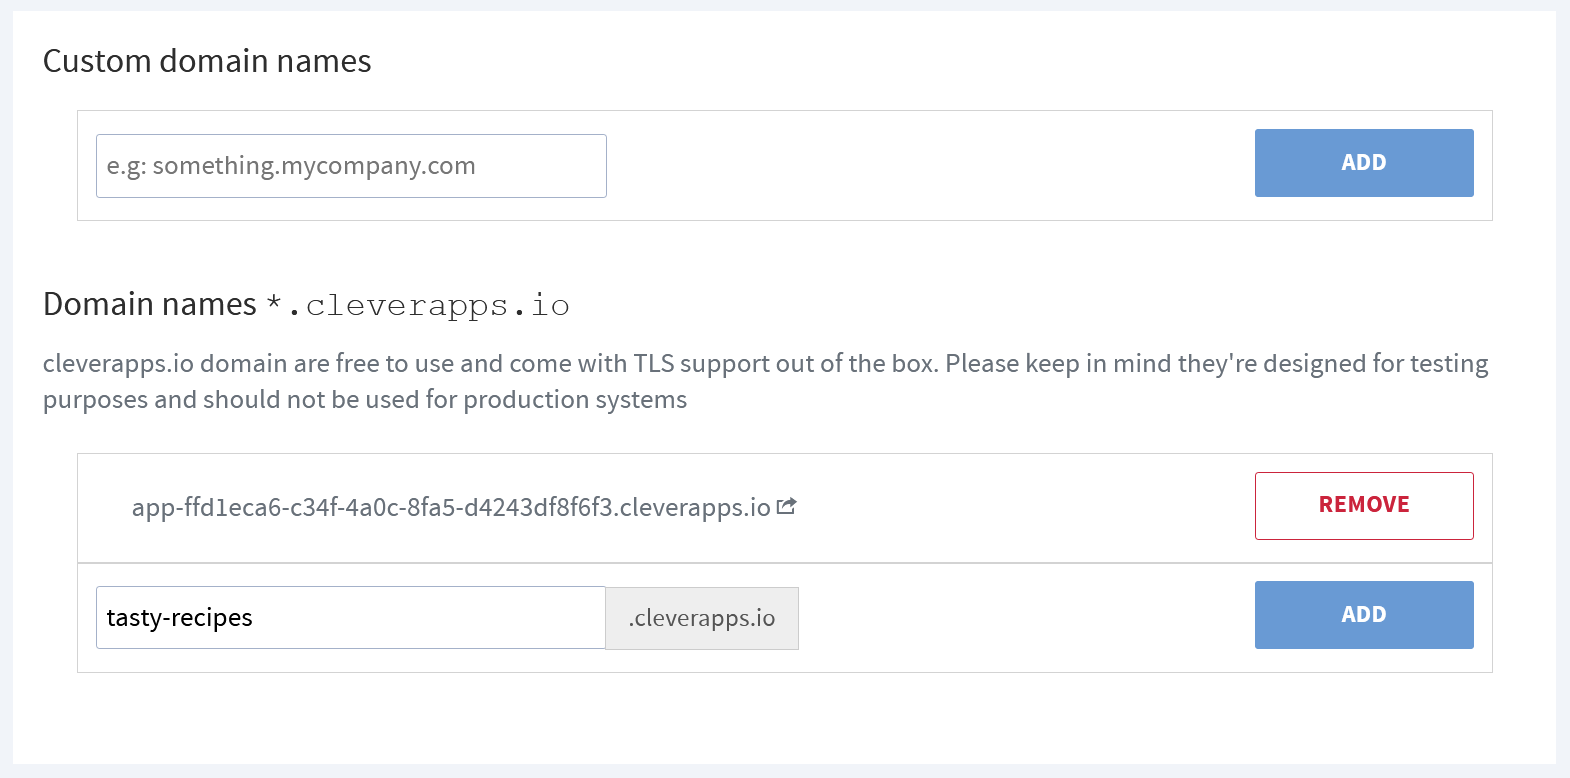
- Application's domain name
The current URL of your application is, by default, __YOUR_APP_ID__.cleverapps.io. Well, this is not very eye candy, so we will pimp it a little bit.
Go to your application's dashboard and to Domain names. At the bottom of the page you will see the current URL of your project and a form to add a new one. Let's create our own application domain :
Note: I will not cover the setup your very own domain name, but you can check the documentation to do so.
Now that we have a readable URL, let's update our application's env once again to use it as HOST_URL :

Just save it, but don't restart your application yet. We still have some code that has not been pushed to our Github's repo! Let's do it now.
Your Clever Cloud application will automatically restart once a new commit is found.
And tadaaaa! Go to your URL and you should see your project running smoothly.
Final touch
Go to your application's dashboard and to Information. From there, you can update the name, description, and zone of your application, but also some deployment settings :

Note that if we wanted to have both a production and a staging application,we can do it like this :
Production :
- tasty_recipes Elixir app
- tasty_recipes_database PostgreSQL app
- master Github branch used for deployment
Staging :
- tasty_recipes_staging Elixir app
- tasty_recipes_database_staging PostgreSQL app
- develop Github branch used for deployment
Obviously, in this case, develop branch will be used for staging features development and master for production.
Nice, isn't it?
We should be fully set now! We now have our application online and ready to redeploy whenever a new commit is pushed on our Github repository.
See you soon.
If you have a problem and no one else can help. Maybe you can hire the Kalvad-Team.