Building angular applications on AWS Amplify

Stability and maintainability of a system is one of the key components that dictates a good practice of building great applications. In my career as a software engineer, I have come to love angular because it is a framework that I have relied on to create scalable web applications. In my journey, I stumbled upon application development platforms which enable developers to access backend services easily and efficiently. In this article, I will introduce you to AWS Amplify.
What is Amplify?
Amplify is a product of AWS which allows developers to have an end-to-end set of solutions to serve your front-end and mobile development. Other popular alternatives are:
- Firebase a Google product
- Supabase an open-source alternative to Firebase but also has cloud hosting which is charged based on usage
- Appwrite is an open-source app development platform which targets mostly web and mobile & flutter developers. This is similar to supabase but in my opinion it’s easier to set up locally or even self-host.
What does amplify offer?
Amplify has a great list of features. Each feature is backed by an AWS service so it is very easy for developers to migrate to and from amplify. The features offered are:
- User authentication and management. It enables developers to implement authentication, authorization and management of authenticated users.
- DataStore. Amplify provides a programming model for leveraging shared and distributed data without writing additional code for offline and online scenarios.
- Analytics. Amplify uses Amazon Pinpoint and Amazon Kinesis in order to provide developers with tools to understand the behavior of their users. It is equivalent to Firebase Analytics.
- API. Using AWS AppSync together with Amazon API Gateway, it enables developers to access services hosted on AWS e.g., accessing AWS DynamoDB or calling an AWS Lambda function.
- Functions. These are AWS Lambda functions created on amplify.
- Geo. It enables developers to create location aware applications through Amazon Location Service. It includes pre-integrated map UI components (based on MapLibre)
- Interactions. Developers can build interactive and engaging conversational bots into their applications. Powered by Amazon Lex (same technology that runs Amazon Alexa).
- PubSub. Apps can use this feature to pass messages to other apps and even app backends in real-time which improves interactivity.
- Push notifications. It enables marketing teams to improve customer engagement.
- Storage. Powered by Amazon S3, it enables developers to store multimedia securely.
- Hosting. This allows developers to host their web applications on amplify.
Let’s create an app with Amplify
Amplify has a lot of tools to help developers interface with it. The main tools are:
- Amplify Studio. It is a visual development environment for building full-stack web and mobile applications. It provides a visual interface for modeling data, adding authentication, authorization and managing users and groups. As you create backend resources, it generates IoC (infrastructure-as-code) templates that enable seamless integration with the Amplify CLI.
- Amplify CLI. It is a toolchain to configure and maintain your app backend from your computer.
In this article, we will be using the Amplify CLI
Pre-requisites
Before you begin, make sure you have the following installed:
- node.js v14.x or later
- npm v6.14.4 or later
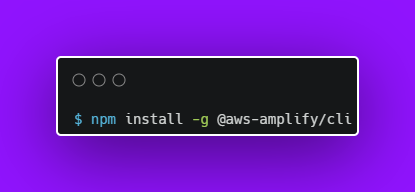
Installation
We will install amplify using npm.
Configure the Amplify CLI
To set up the Amplify CLI on your local machine, you have to configure it to connect to your AWS account.
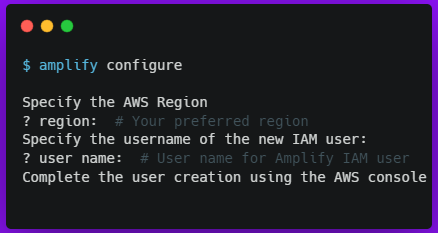
Amplify CLI will also ask you to provide the accessKeyId and the secretAccessKey to connect Amplify CLI with your newly created IAM user.

After installing and configuring amplify, you can configure amplify using the command amplify init and amplify add <category>.
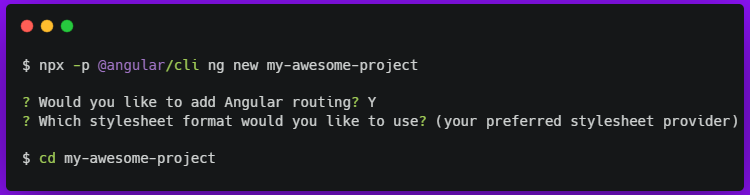
Set up angular project with amplify
Use the Angular CLI to bootstrap a new Angular app.
An optional step we can take on src/polyfill.ts is to add the code below. The import statements help us to support JavaScript APIs not supported by Internet Explorer (if you need to support the browser). Adding global and process to the window object if you are planning to have the angular application be server-side rendered using @angular/universal.
// Internet explorer 11 (IE11) support
import "core-js/es/typed-array";
import "core-js/es/object";
// For Angular+ does not include shims for 'global' or 'process' as provided in previous version
(window as any).global = window;
(window as any).process = {
    env: { DEBUG: undefined },
};Next, we will need to initialize amplify into our angular application in order to add features to our angular app such as DataStore, Authentication and Push notifications depending on your application needs.

By running the command, a couple of events happen.
- A directory is created on the root level of the angular project called amplify. This folder is important because it stores your IoC (infrastructure-as-code) templates for your backend features. Meaning amplify can easily replicate the backend stack (features added).
- There is a JavaScript source file created called aws-exports.js. It provides the necessary information to amplify client libraries. This will be found inside the src directory. It holds all the relevant configurations for the services you create with amplify.
- There are some modifications to .gitignore.
A cloud project is created for you in the AWS Amplify Console that can be accessed by running the amplify console.
Installation of amplify libraries into our angular project
The following amplify libraries are required to get started.

For now, we will install @aws-amplify/ui-angular which are sets of pre-built UI components for authentication and more. They will assist us in creating our UI so we don’t reinvent the wheel.Next we start our angular project using npm start. Just in case your typescript compiler is in strict mode, you may have to create a source file with Typescript’s typings in it. The issue is an error is usually thrown because of aws-exports.js.

declare const awsmobile: Record<string, any>;
export default awsmobile;Then we will add amplify libraries to our project on src/main.ts and src/app/app.module.ts.
import { enableProdMode } from "@angular/core";
import { platformBrowserDynamic } from "@angular/platform-browser-dynamic";
import { Amplify } from "aws-amplify";
import { AppModule } from "./app/app.module";
import awsconfig from "./aws-exports";
import { environment } from "./environments/environment";

/**
 * @note Configures aws-amplify
 */
Amplify.configure(awsconfig);

if (environment.production) {
  enableProdMode();
}

function bootstrap() {
  platformBrowserDynamic()
    .bootstrapModule(AppModule)
    // eslint-disable-next-line no-console
    .catch((err) => console.error(err));
}

if (document.readyState === "complete") {
  bootstrap();
} else {
  document.addEventListener("DOMContentLoaded", bootstrap);
}import { NgModule } from "@angular/core";
import { BrowserModule } from "@angular/platform-browser";
import { BrowserAnimationsModule } from "@angular/platform-browser/animations";
import { AmplifyAuthenticatorModule } from "@aws-amplify/ui-angular";
import { AppRoutingModule } from "./app-routing.module";
import { AppComponent } from "./app.component";
@NgModule({
declarations: [AppComponent],
imports: [
BrowserAnimationsModule,
AmplifyAuthenticatorModule,
AppRoutingModule,
],
bootstrap: [AppComponent],
})
export class AppModule {}
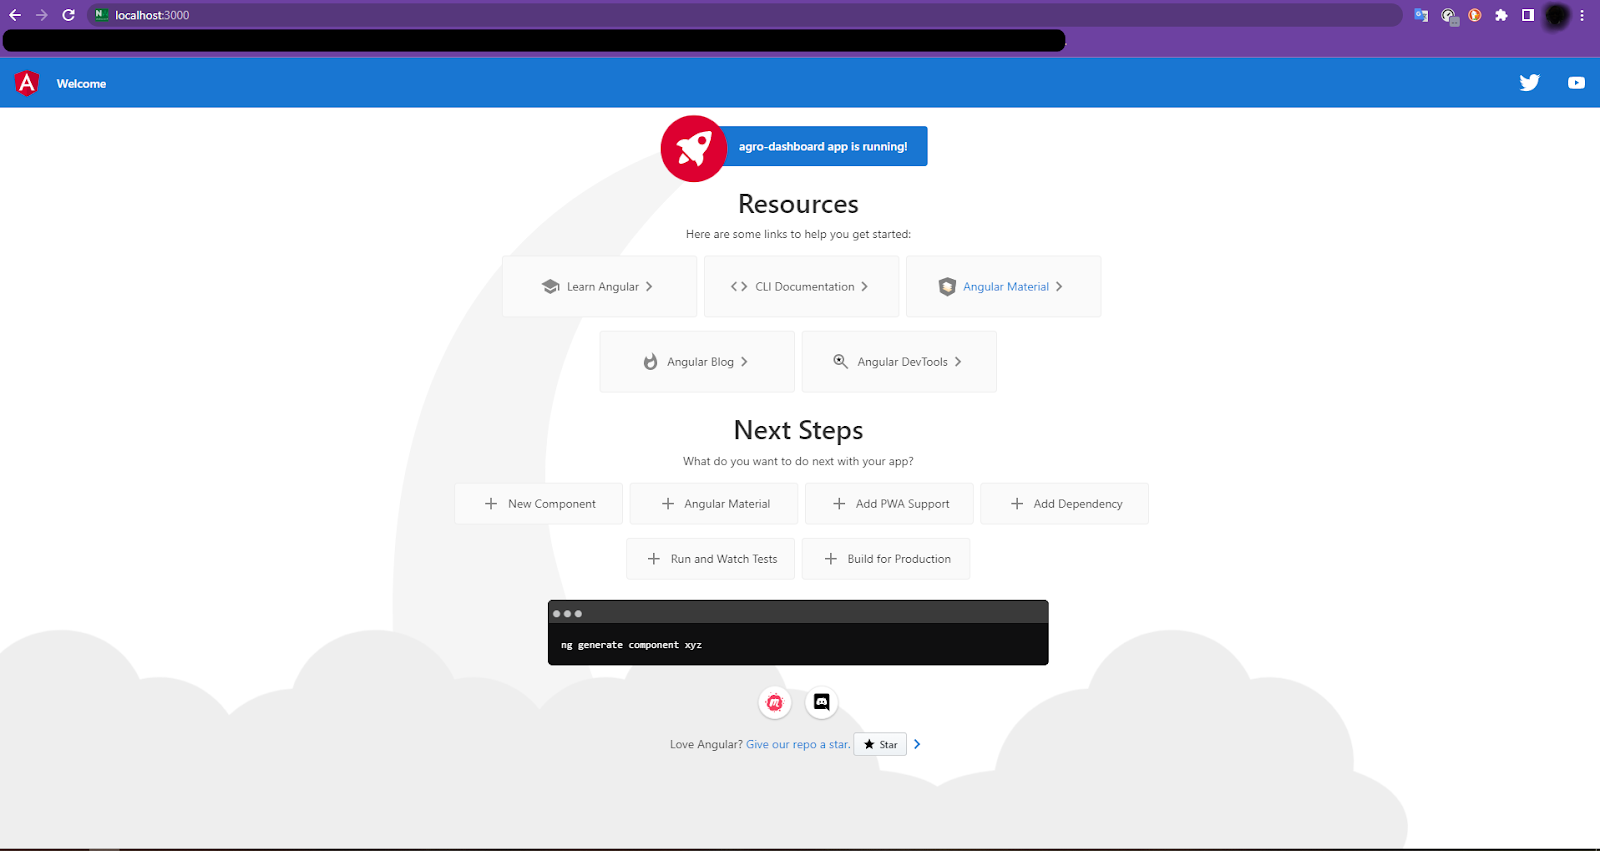
Now let's start our local server using npm start. The end result should be the default angular starter page when you open the app on the browser as shown below
Wrapping it up
As you can see, amplify is easy to set up. Its set of libraries are framework agnostic therefore they can be used with Vanilla JavaScript, React, Vue, Svelte and many other JavaScript frameworks. There are a lot of great things you can achieve with amplify. Next, we will build a simple A.T.M which will:
- Allow customers to log in with their username (a 8 digit number a.k.a Bank account ID) and a Pin of 4 digits.
- Allow customers to withdraw their money or deposit a cheque.
- Allow customers to see a list of all transactions done.
The application will use Angular Material for UI needs. This will enable us to:
- Know how to deploy to amplify hosting
- Know how to create models on the amplify data-store
- Know how to create a function on amplify functions
- Know how to authenticate using amplify user authentication
- Know how to configure authorization rules on amplify data-store using information on amplify user authentication
A lot of exciting things to come. Hope you enjoyed going through the amazing first step of Building angular applications on AWS Amplify. Cheers!