Apache Airflow on Clever Cloud
A walkthrough of deploying Apache Airflow on Clever Cloud with PostgreSQL, Redis, and Celery, written for engineers who want to understand their stack instead of copy-pasting it.


During a recent interaction on Twitter (in French, sorry), some people were misbehaving and we were shocked to see the same story as usual: people are using software without understanding it (or reading the doc)!

I blame a lot all these "ready-made" packages, like helm on Kubernetes, or Galaxy on Ansible, as it's most of the time not focusing on security, but people are just button pusher and are using it in production without questioning it (see "Sysadmin/DevOps/SRE people, we are on the way to a massive pauperization of our jobs!").
So how do we deploy Airflow on Clever Cloud!

What is Airflow?
As per Wikipedia
Apache Airflowopen-sourceworkflow management platformAirbnb[2]user interface[3][4]Apache IncubatorApache Software Foundation
PythonXML
What is Clever Cloud
Clever Cloud is a Platform as a Service, aiming at helping companies to ship way faster their web services in the cloud, with a pay-as-you-go pricing model. No infrastructure to manage, no system to update and no orchestrator to troubleshoot.
So they are like Heroku, but French and cheaper!
Prepare Clever Cloud
Airflow can work with multiple databases, but as a sysadmin, I'm going to recommend PostgreSQL.

On Clever Cloud, go to Create -> an add-on -> PostgreSQL -> DEV. Enter a name and you are ready for the database.

Then create a Redis add-on, go to Create -> an add-on -> Redis -> S. Enter a name and your Redis is going to be ready in a few seconds.
Finally, in order to ease the configuration management, go to Create -> an add-on -> Configuration Management -> Standard. Enter a name and your Configuration is going to be ready in a few seconds.
Once these 3 addons are ready, go to the configuration management add-on, and add the 2 following lines:
AIRFLOW_EXECUTOR=CeleryExecutor
BROKER_URL=redis://:gXQnjwCDgLlemCyUfS9@bxfthlhpcbpdpel6urjy-redis.services.clever-cloud.com:3780/0
CC_PYTHON_VERSION=3.9
CC_POST_BUILD_HOOK=npm run build
Where BROKER_URL is the URL of your Redis + /0 at the end.
Clone the repo
We have a repo that you can use as a base (feel free to do some PRs).

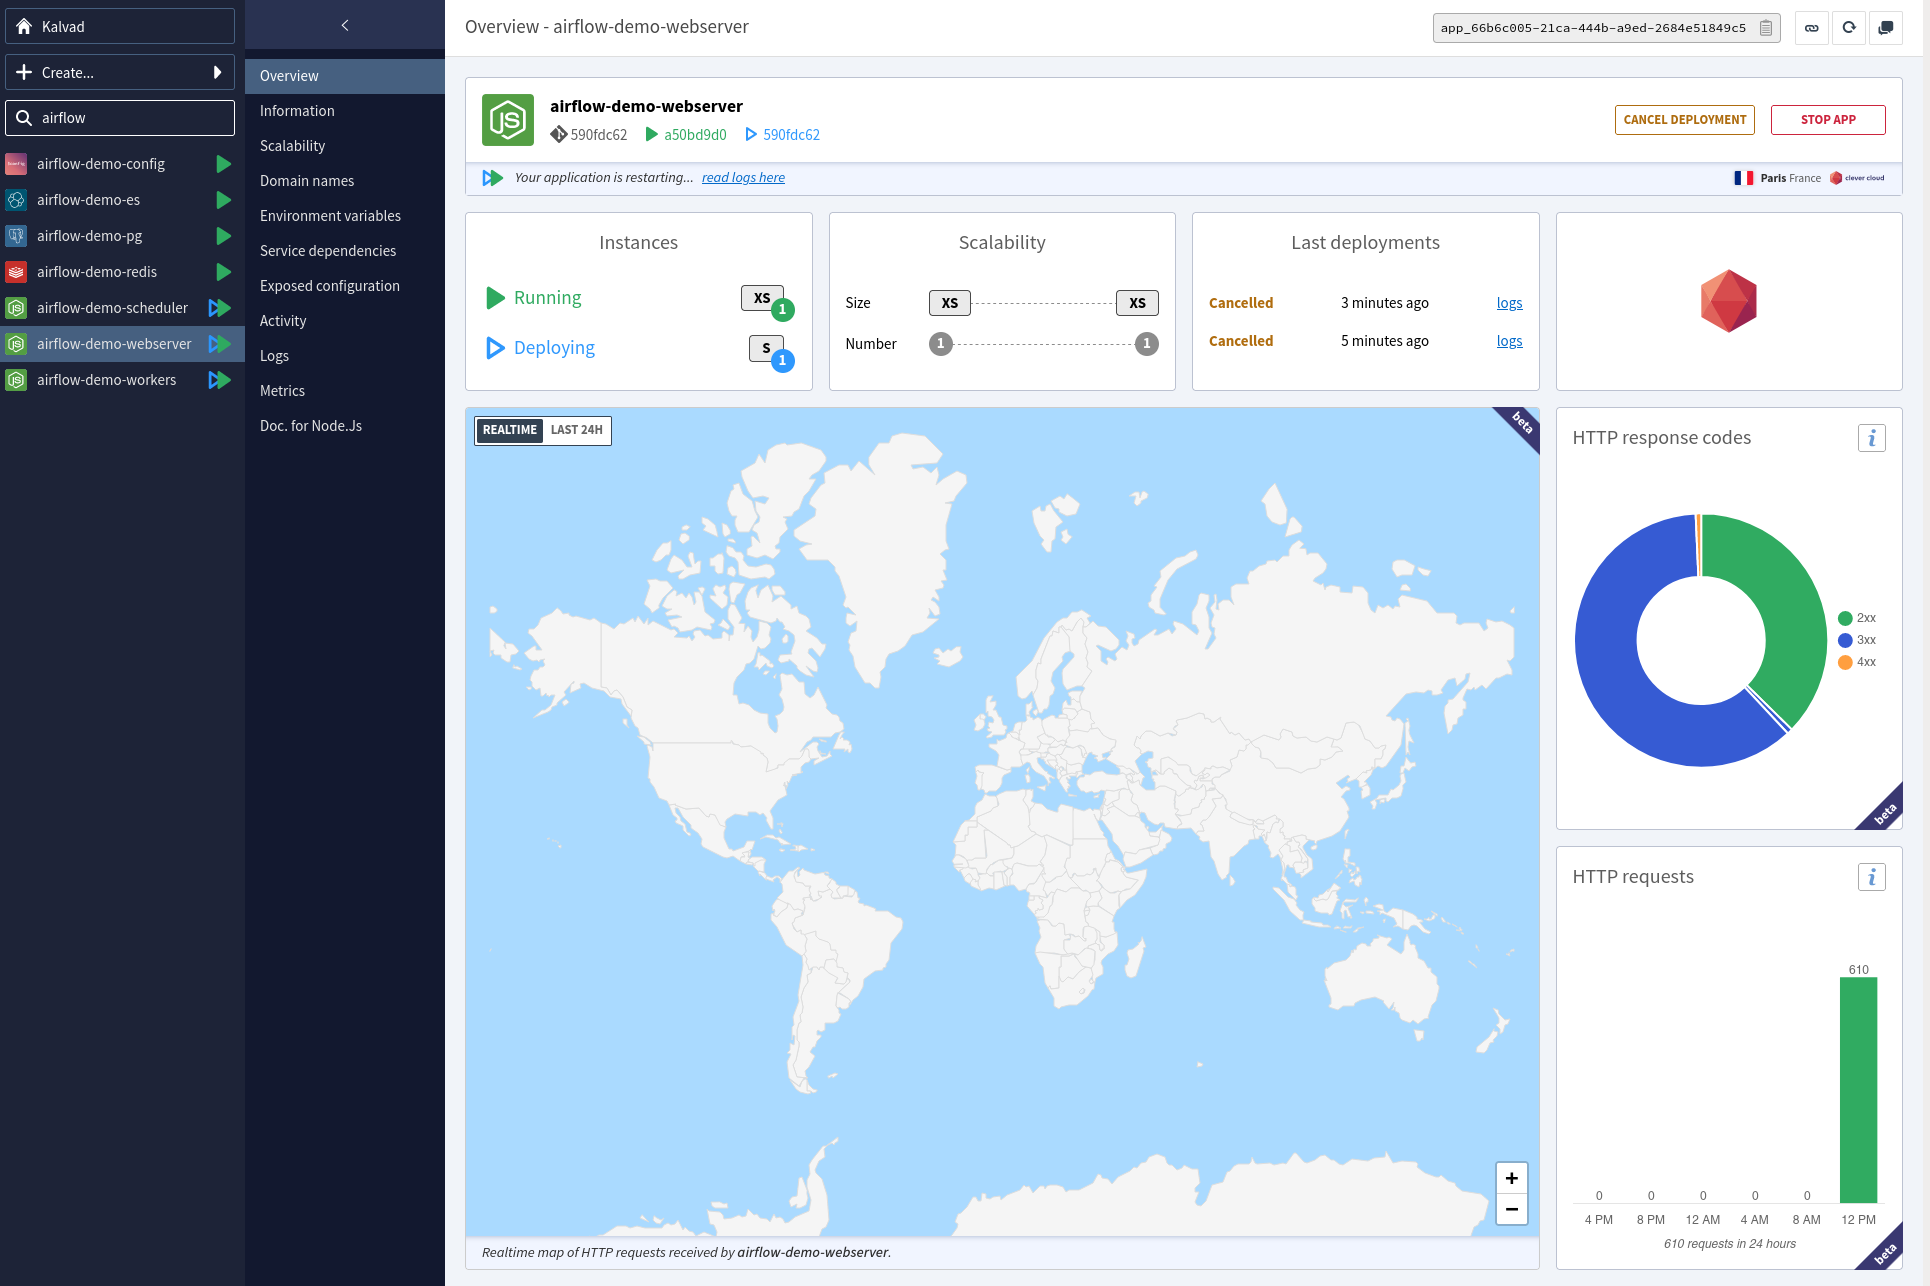
Webserver and DB migration
Your next step is to create an application that is going to be the base of your deployment.
Go to Create -> an application -> select your GitHub repo -> NodeJS -> Select the instance size (XS is ok) -> enter the name and the description and click on create. Click on I don't need any addons. Then you can define your environment variables.
You need to add the following environment variable:
CC_RUN_COMMAND="npm run webserver"Once it's done, launch a deployment, it's going to fail, but we don't care for the moment!
Then you need to link the 3 previous services:
- PostgreSQL
- Redis
- Configuration management
To this app.
Then you want to copy all environment variables from the webserver locally (you can use the CLI clever env --add-export for this)
Once it's done, we want to prepare the database:
bash run.sh db upgradeWhen it's done, relaunch the deployment of the web server, and it should work!
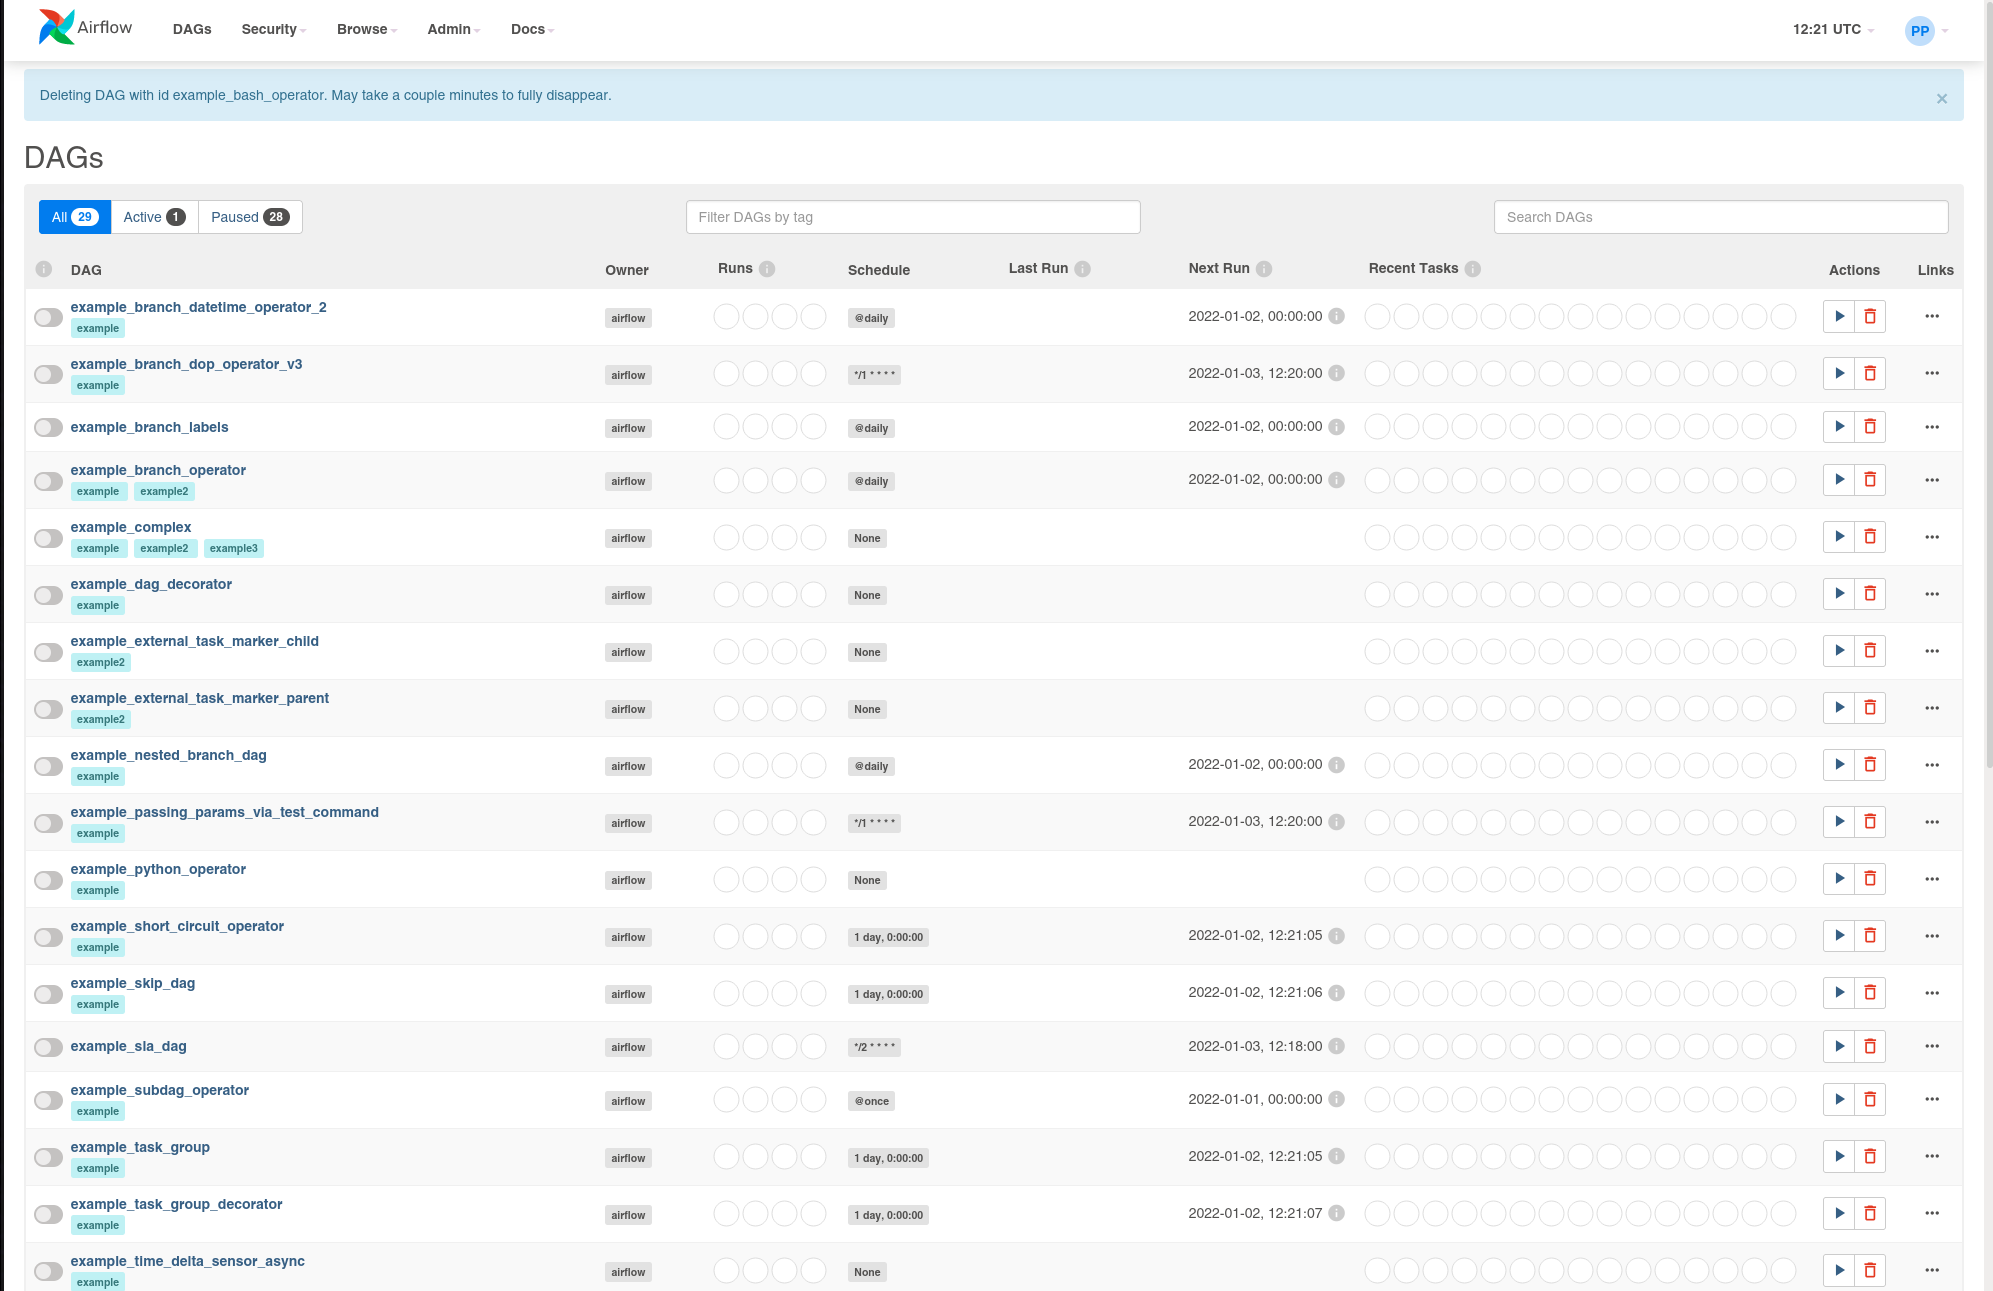
Admin user
Now you have your Airflow Webserver ready, but you want to have access to it. Very simple:
bash run.sh users create \
    --username admin \
    --firstname Peter \
    --lastname Parker \
    --role Admin \
    --email [email protected]
Of course, you need to modify the values according to your needs!
Logs
Now you need to have a log system, some people would recommend S3, but the integration with Airflow is terrible. As CleverCloud is a partner of Elasticsearch, let's go for ElasticSearch!
On Clever Cloud, go to Create -> an add-on -> Elastic Stack -> XS. Enter a name and you are ready for ES.
Once it's done, just redeploy your app and logs are ready!
Scheduler
Once the webserver is up, we want to deploy the scheduler. As the scheduler does not have a web interface, we are going to cheat: we are going to launch a dummy python on port 8080 and launch the scheduler as a CC_WORKER.
How do you do this?
Go to Create -> an application -> select your GitHub repo -> NodeJS -> Select the instance size (XS is ok) -> enter the name and the description and click on create. Click on I don't need any addons. Then you can define your environment variables.
You need to add the following environment variable:
CC_RUN_COMMAND="npm run http"
CC_WORKER_COMMAND="npm run scheduler"
Once it's done, launch a deployment, it's going to fail, but we don't care for the moment!
Then you need to link the 4 previous services:
- PostgreSQL
- Redis
- Configuration management
- ElasticSearch
To this app.
Then it's done!
Worker
For the worker, it's going to be very similar to the scheduler:
Go to Create -> an application -> select your GitHub repo -> NodeJS -> Select the instance size (S is ok) -> enter the name and the description and click on create. Click on I don't need any addons. Then you can define your environment variables.
You need to add the following environment variable:
CC_RUN_COMMAND="npm run http"
CC_WORKER_COMMAND="npm run worker"
Once it's done, launch a deployment, it's going to fail, but we don't care for the moment!
Then you need to link the 4 previous services:
- PostgreSQL
- Redis
- Configuration management
- ElasticSearch
To this app.
At least like this, you can modify the number of workers dynamically by going on Scalability on Clever Cloud!
Conclusion
As you can see, deploying Airflow on Clever Cloud is not complicated, it's fast, and you have the best PaaS to manage your app!
If you have a problem and no one else can help. Maybe you can hire the Kalvad-Team.
Deploying Airflow the Right Way?
We deploy and operate data pipelines on platforms like Clever Cloud, AWS, and bare metal, with PostgreSQL, Redis, and Celery wired up properly. For teams that want Airflow running in production without copy-pasted Helm charts, we read the docs, harden the setup, and hand you something you can actually run. Plan your Airflow deployment with us.